Instructions for installing a new LCD screen for the Milton Bradley Microvision
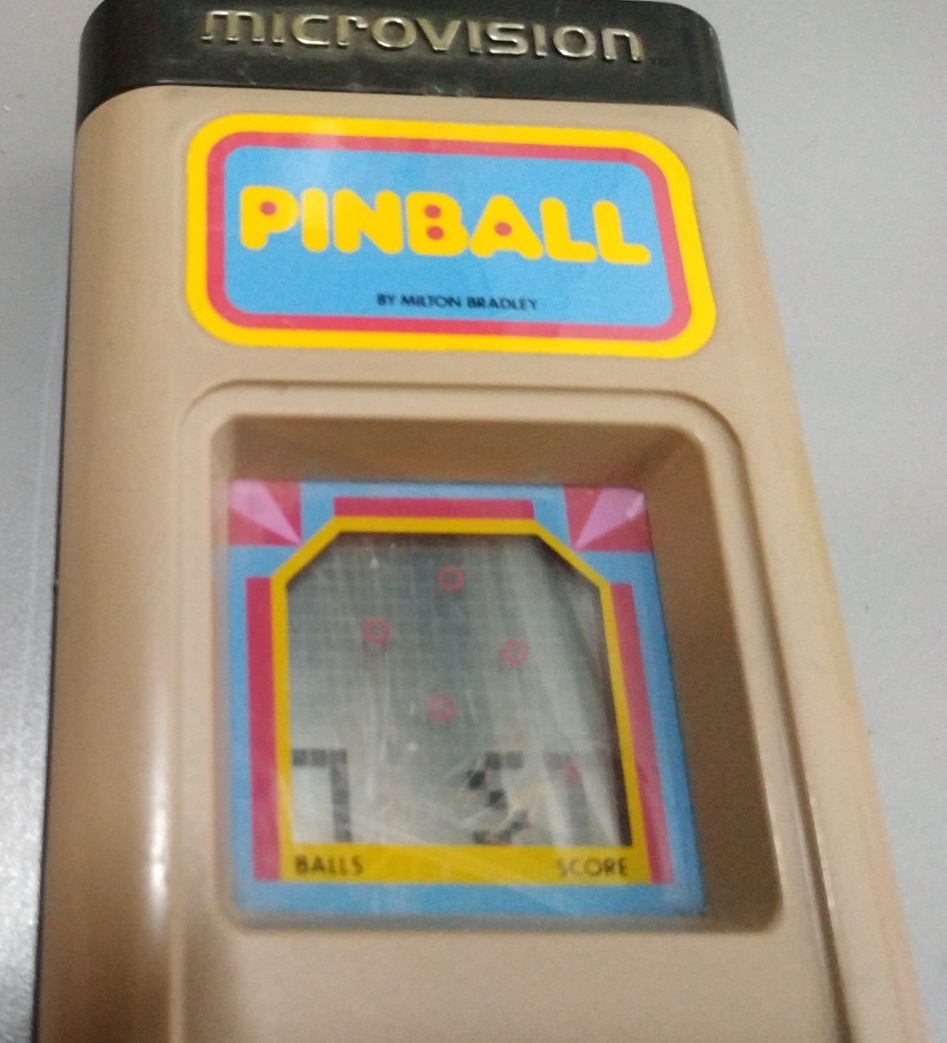
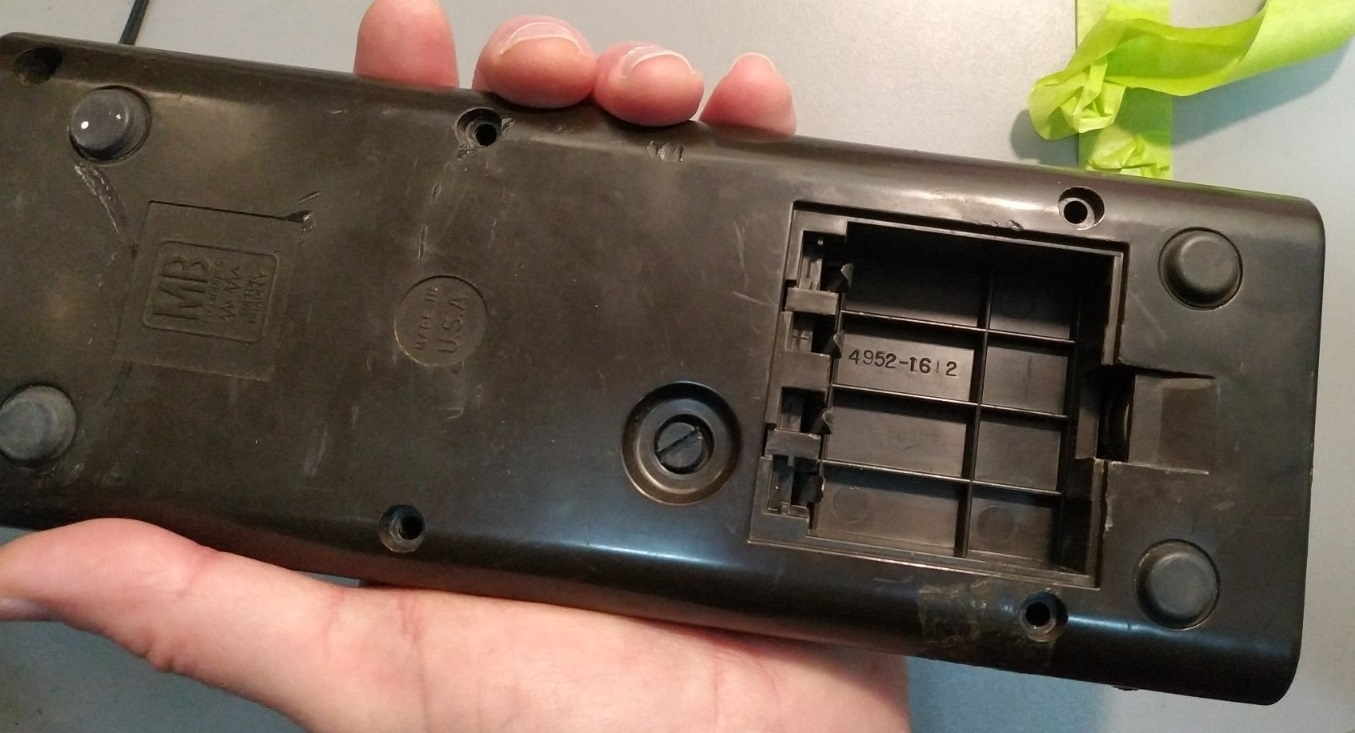
Find a Microvision that has a bad LCD:
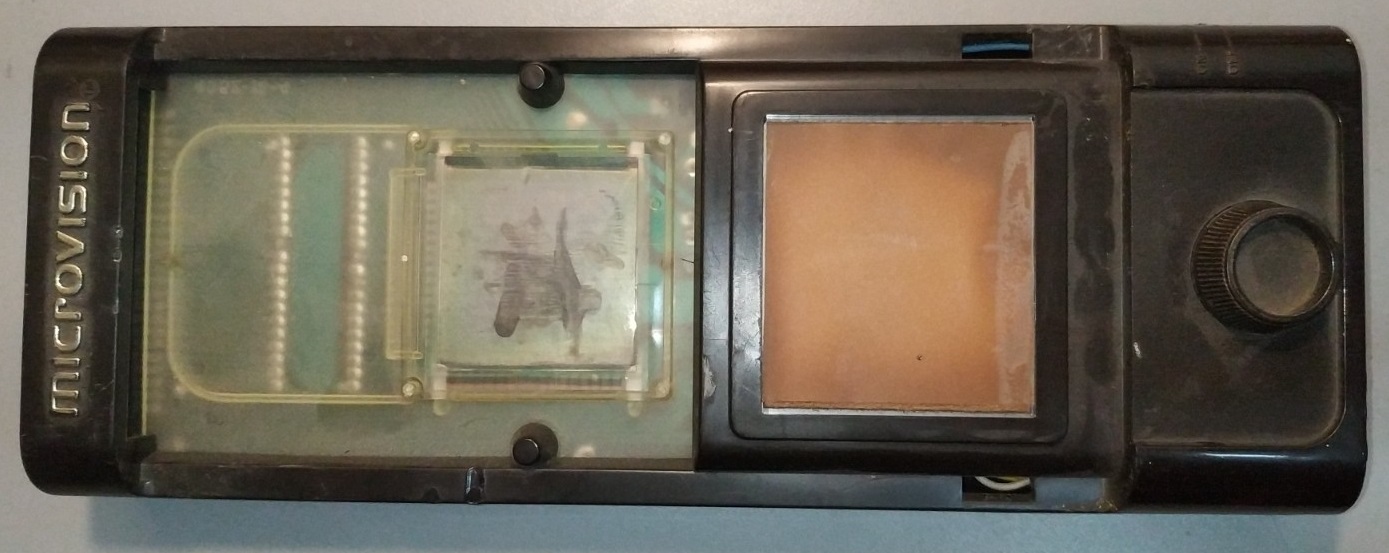
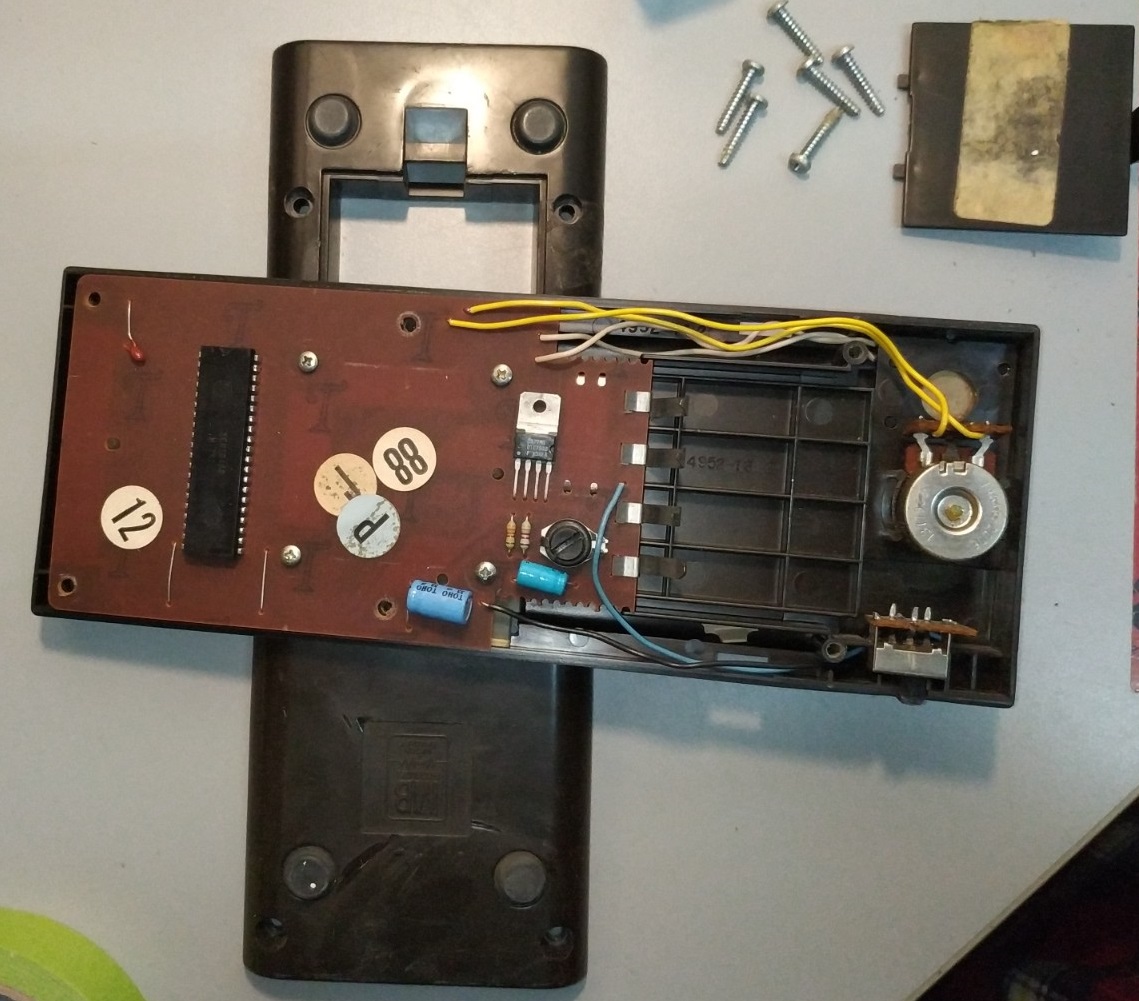
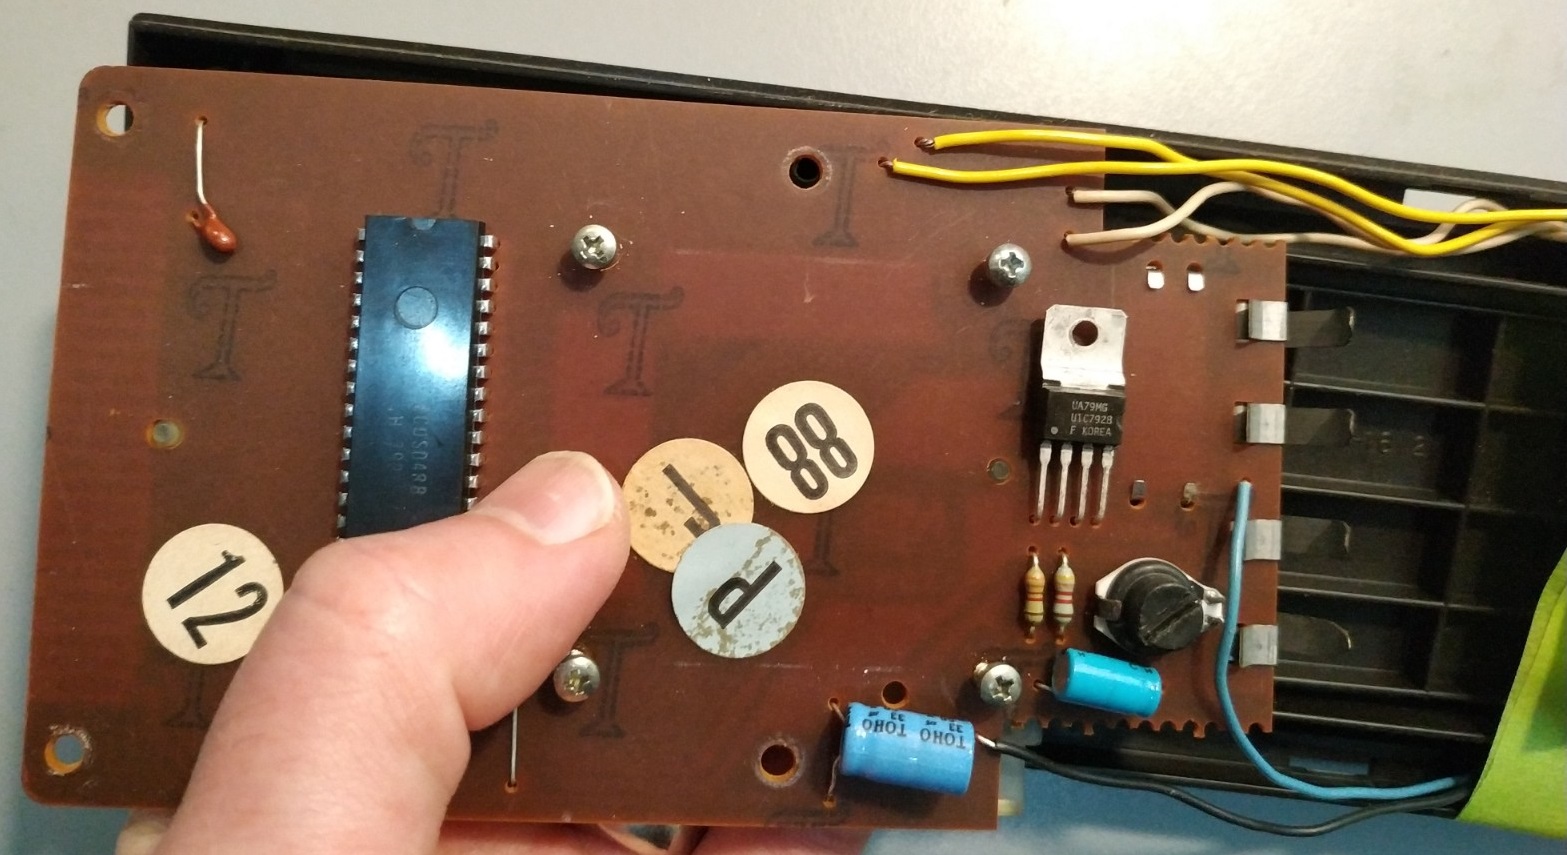
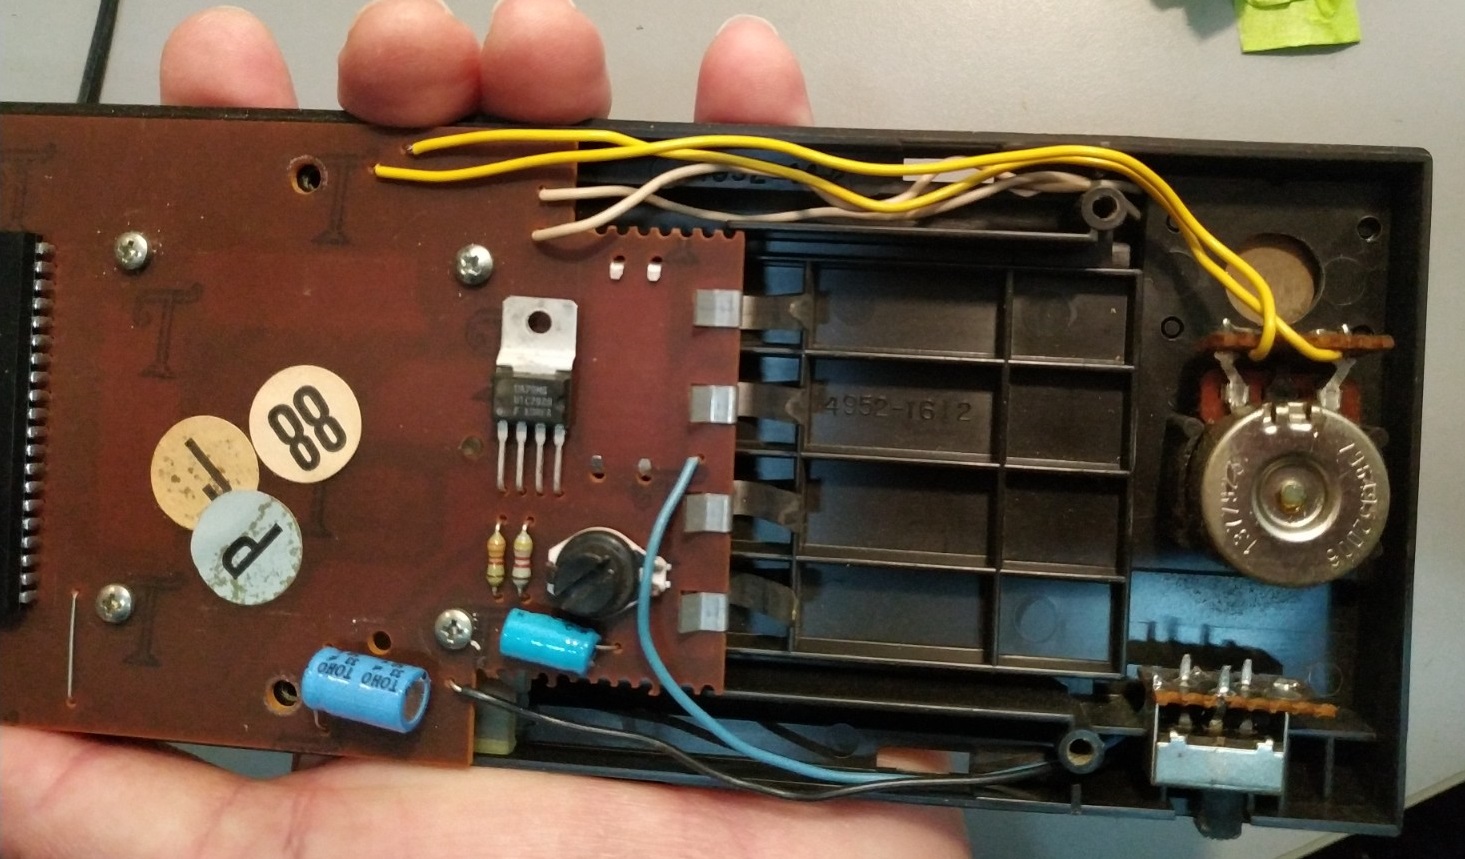
Remove the 6 screws on the back, and remove the back cover (make sure the parts that can come loose don't move):
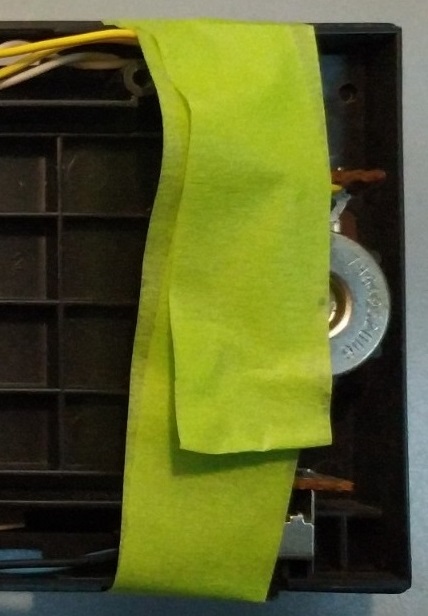
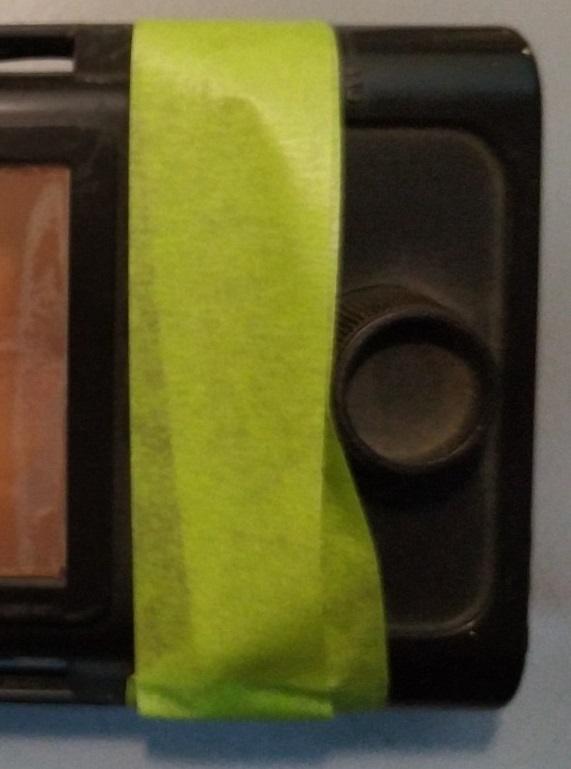
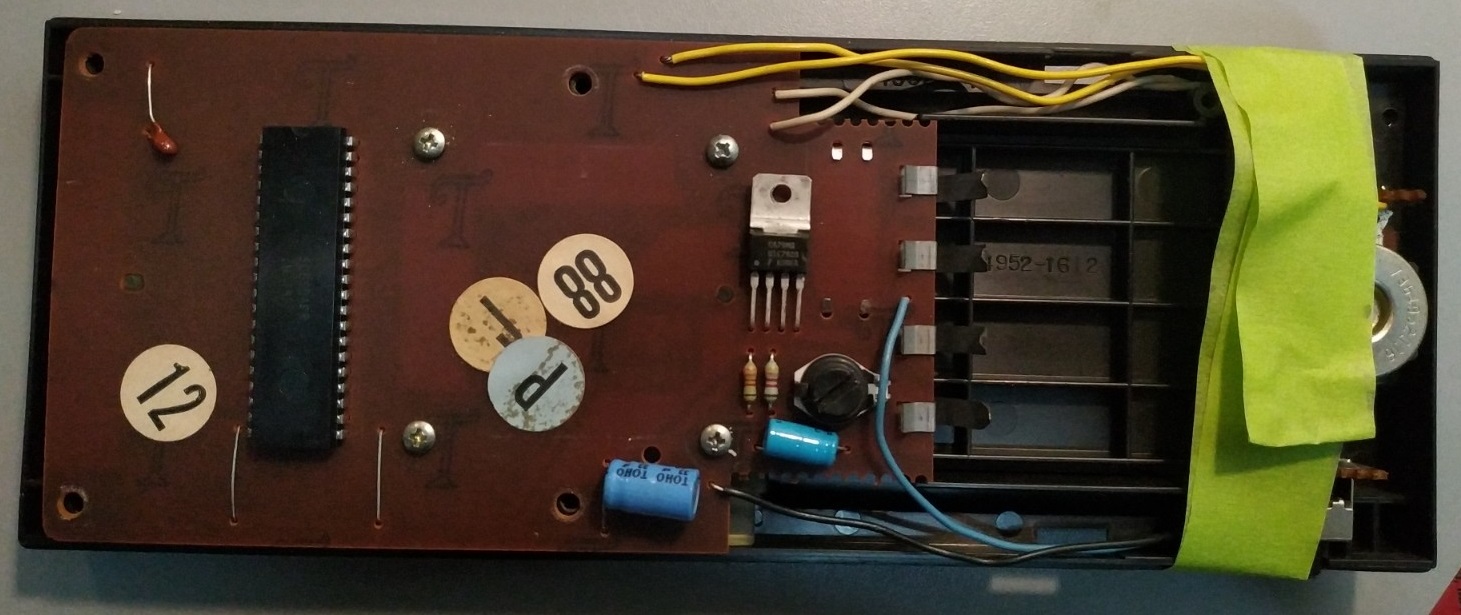
Add painters tape, covering the parts that can come loose. Don't cover the paddle controller:
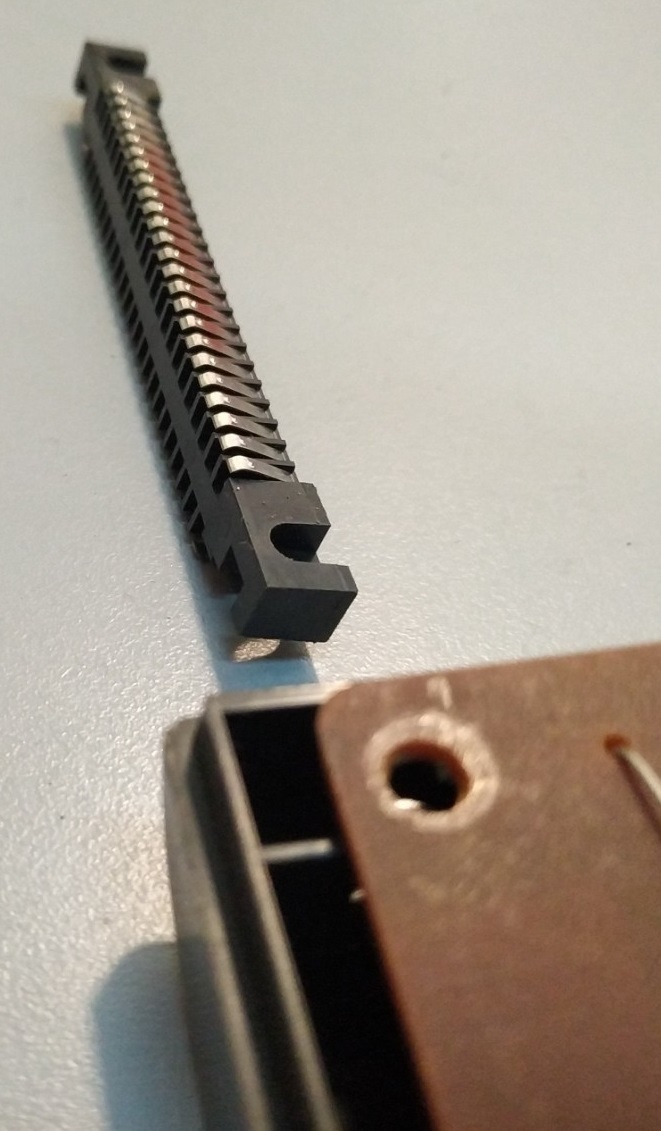
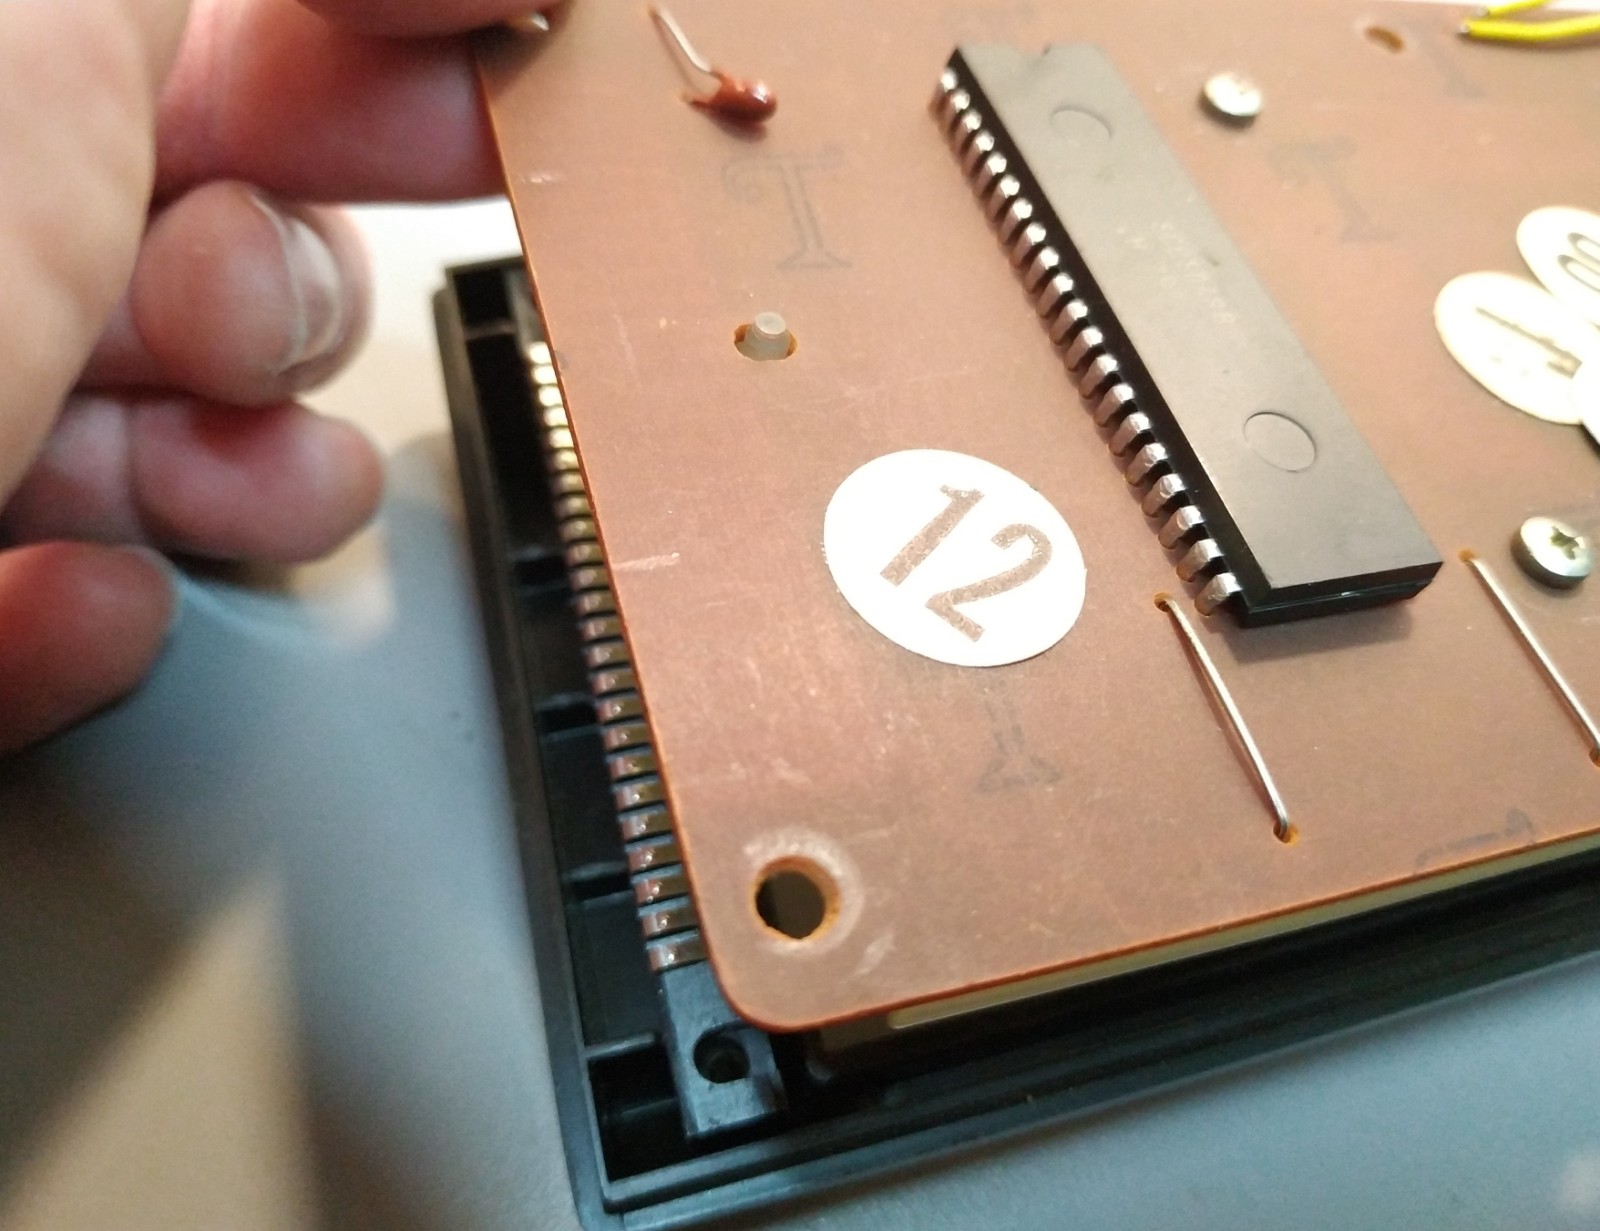
Remove the connector. Note the orientation (kept same in picture):
Remove the 4 screws holding the LCD items:
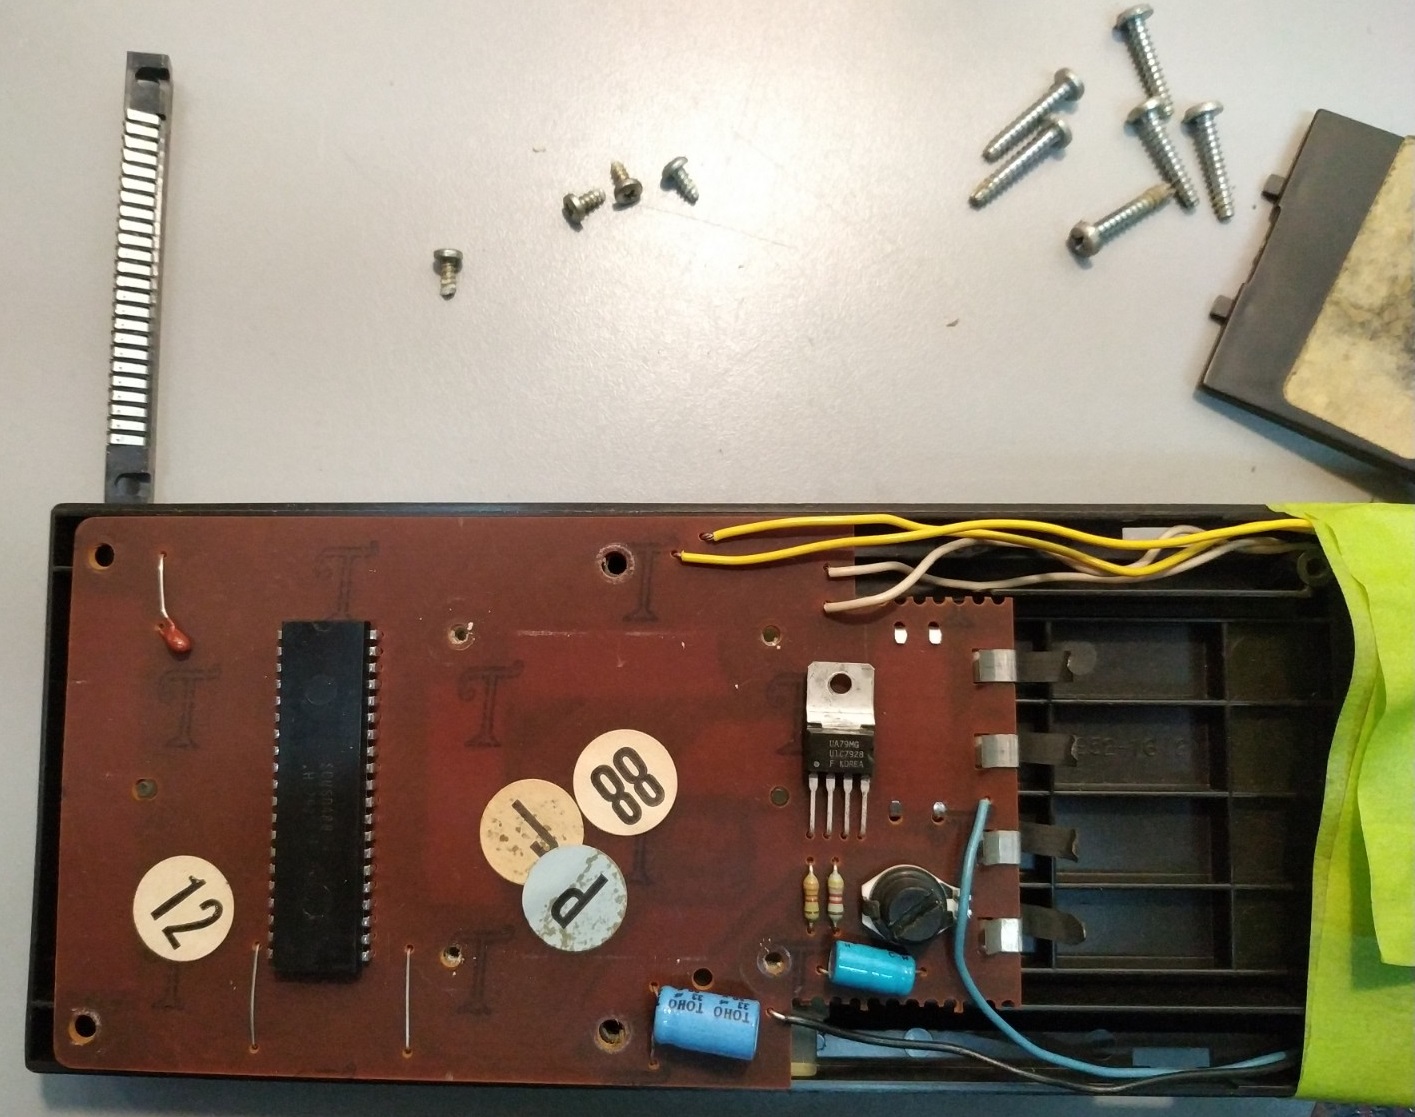
Remove all the LCD items. Note that some systems have a rubber switch near the top right of the system - if your system has one of these, make sure you don't lose it, and make sure it gets put back in place during installation:
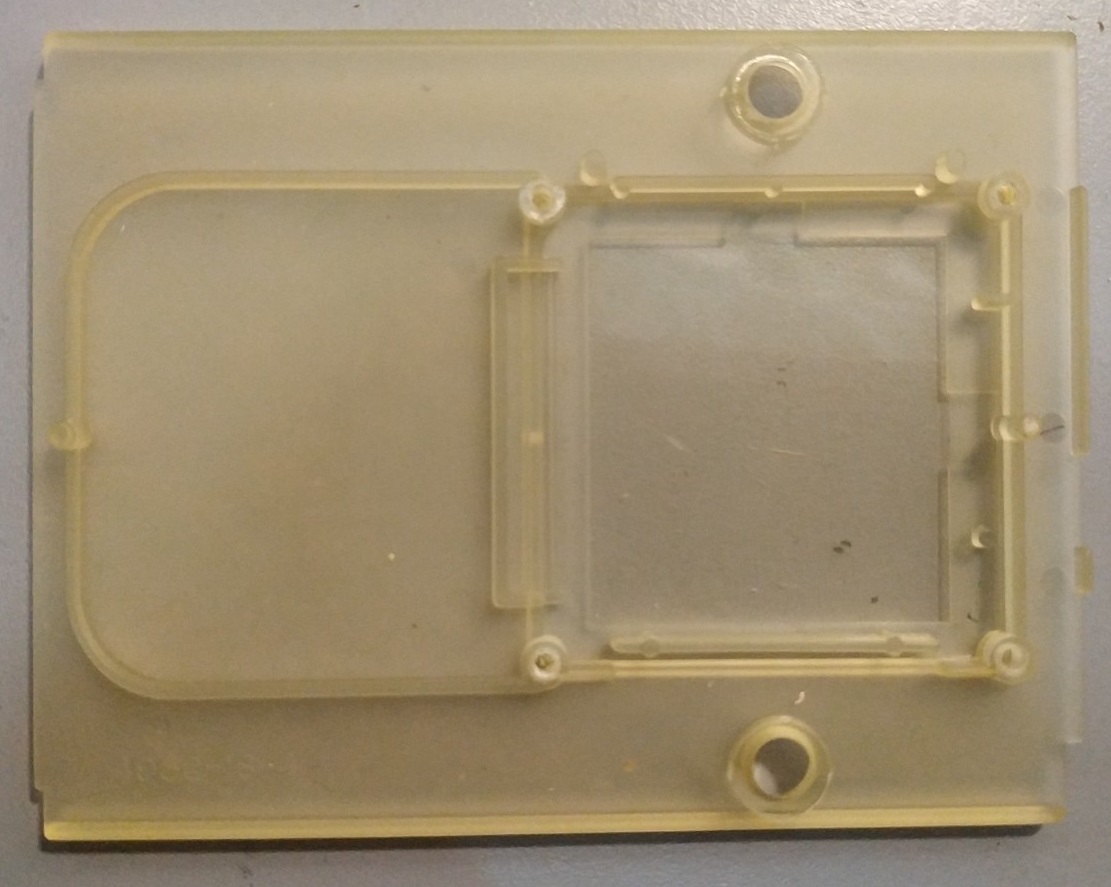
To put back together, start with the plastic frame (make sure it's clean):
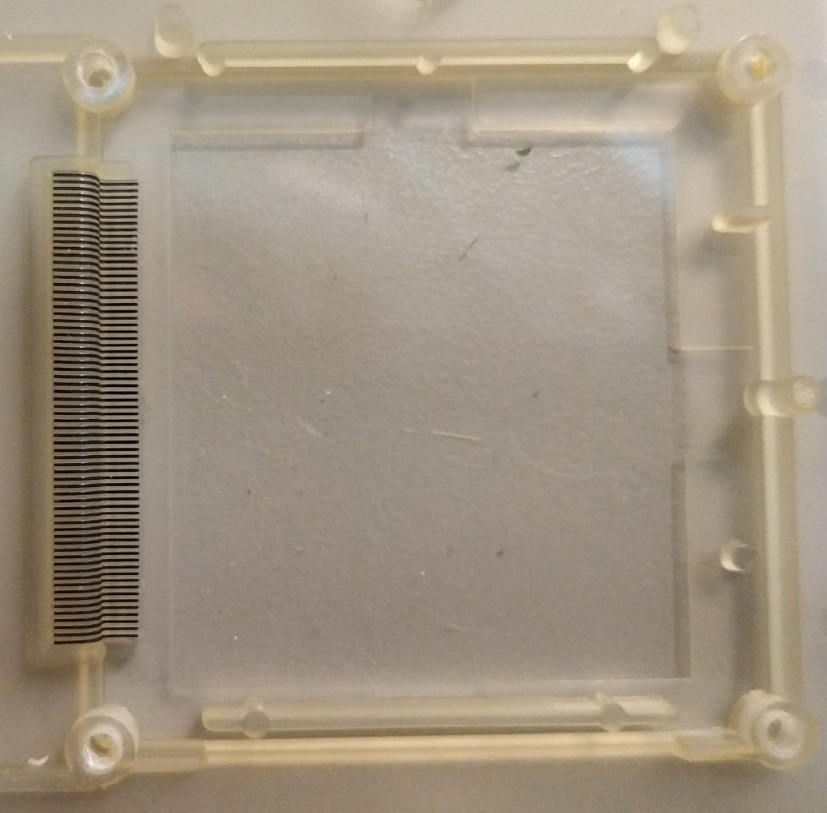
Add the stepped Zebra connector. I've had the best success by not cleaning the connector:
Add the new LCD screen. Make sure it's fitting flat:
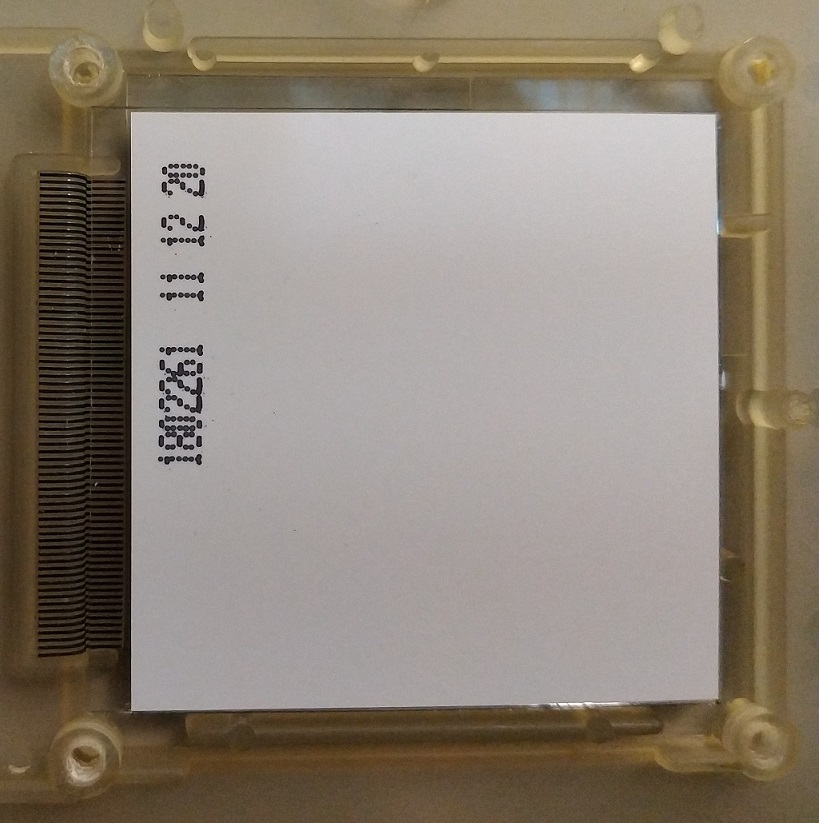
Add the narrow Zebra connector, with stripes close to the LCD screen. The connector can slide left and right (in this picture) - make sure it's centered. I've had the best success by not cleaning the connector:

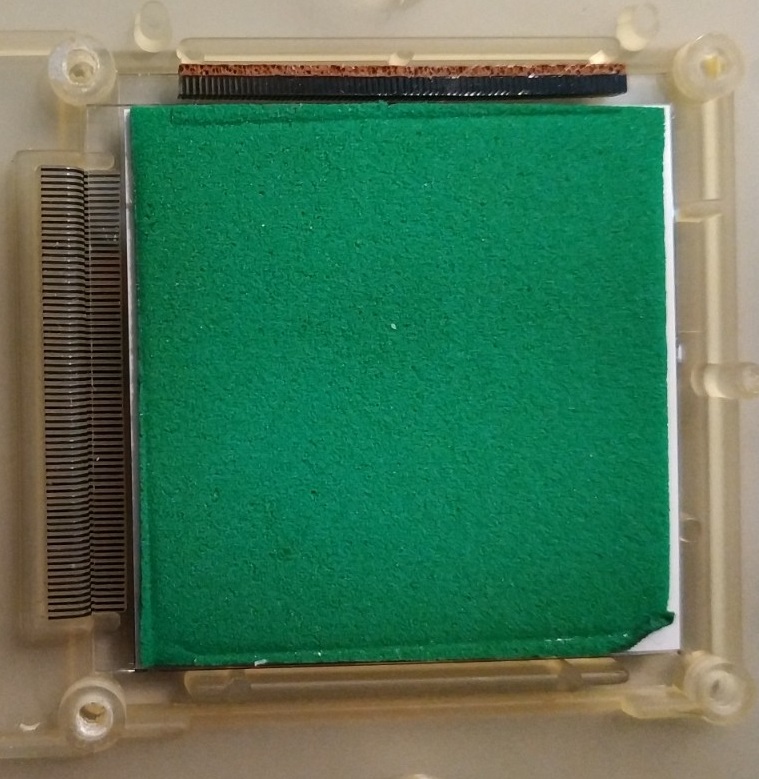
Add foam piece. If it's stained, place cleanest side down. Make sure it's not interfering with either of the Zebra connectors:
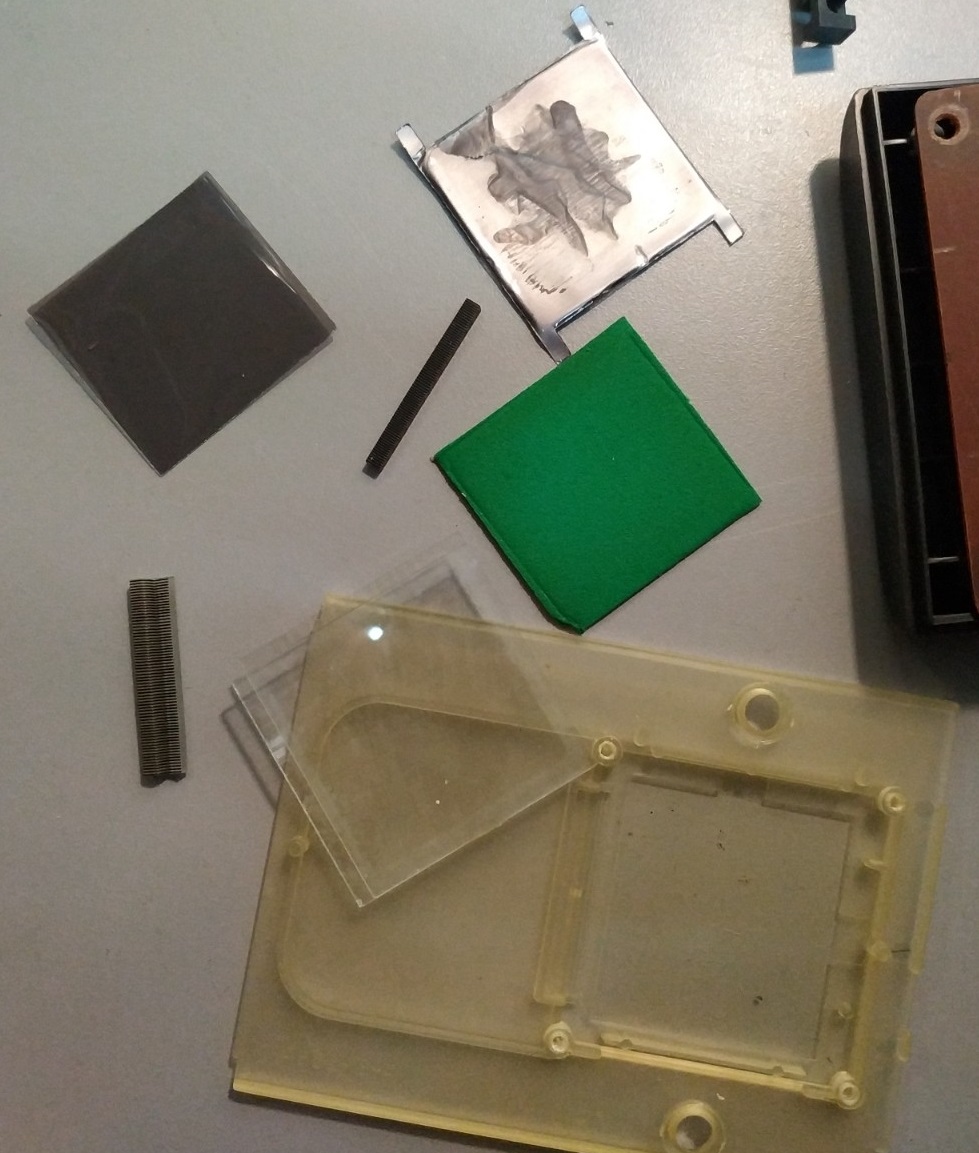
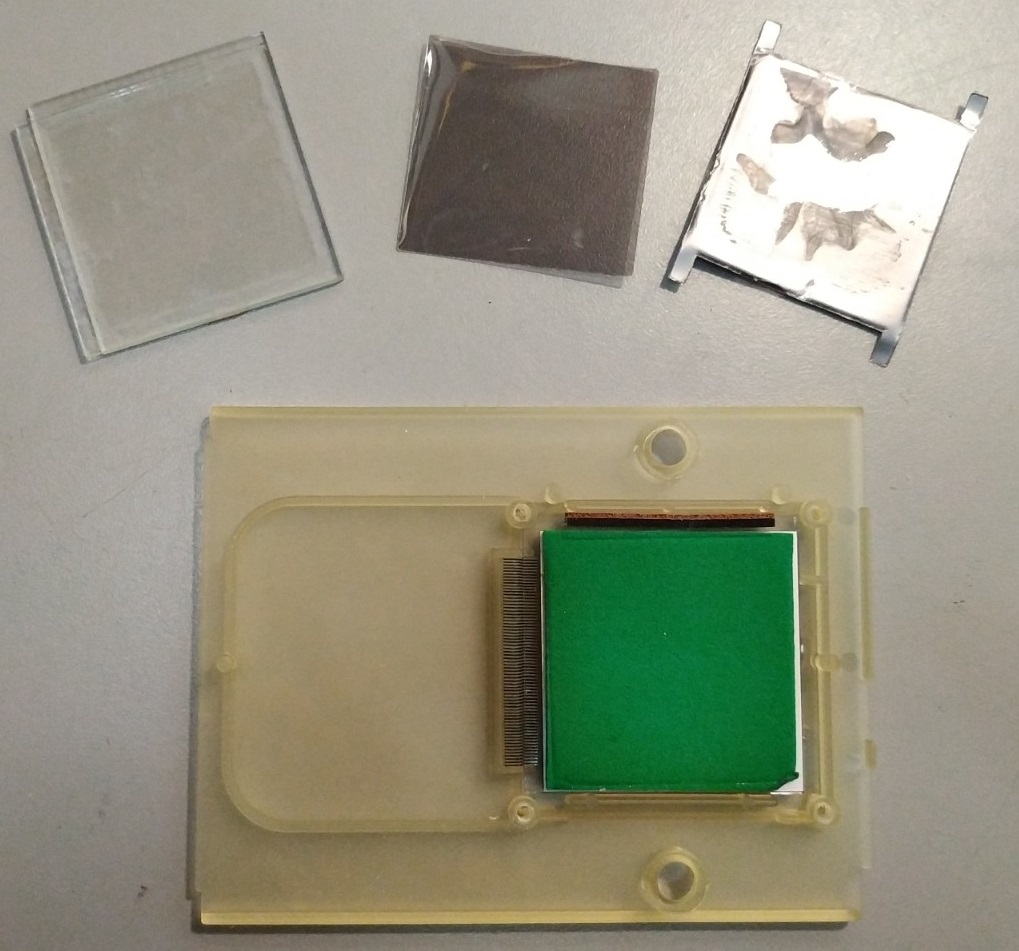
Picture showing the unused items, as well as the LCD items stack:
Carefully put the LCD items back in place, and install the 4 screws while holding the stack together. Make sure the 4 screws are snug, but not overtightened:
Place the connector into place (note orientation):
LCD stack screwed in, connector in place, PCB and all other items in place:
Tape removed (while holding the system so that nothing gets out of place). If you need to, spray some CAIG DeoxIT (or equivalent) inside the paddle controller:
While holding, install the back of the system. Make sure the back is properly in place, and screw the 6 screws back into place. Make sure the 6 screws are snug and holding things together, but don't overtighten the screws:
Test it out. If there are rows or columns that do not display properly, take the system apart again, checking that the Zebra connectors are properly in place: